How is a Minor Stop Defined?
A machine stoppage is called a ‘minor stop’ when:
- the machine stops working for a short time;
- the machine can easily be restarted by removing or repositioning a workpiece;
- the machine can be restarted within a few seconds or minutes.
The losses due to a minor stop consist of the time lost (i.e. reduced output) and material wasted (i.e. more quality defects and rework) when equipment stops working temporarily.
Many sites include interventions by operators to prevent minor stops (ad-hoc adjustments to machines, materials, etc.) in the minor stop count – in other words, they monitor the ‘number of touches’.
Some Typical Examples of Minor Stops
- Bottles jamming on a conveyor;
- Bottles catching in a cartoner;
- A sensor malfunctioning (where the stoppage can be rectified simply by cleaning the sensor or adjusting it slightly);
- Layer pads in a case packer not being pulled out correctly.
Characteristics of Minor Stops (1)
(1) Because they are quickly and easily dealt with each time they happen, no attempt is made to eliminate them:
- Because they are simple to rectify, they tend to be overlooked;
- They are thus not recognized as a problem that ought to be solved.

Characteristics of Minor Stops (2)
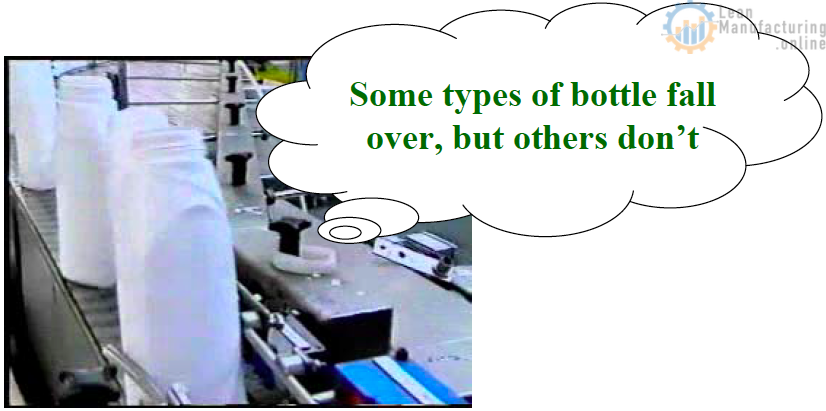
(2) They happen on different parts of the line depending on what is being processed at the time:
- They happen with some products but not with others;
- They occur in different ways on different days or machines.
Characteristics of Minor Stops (3)
(3) Their location jumps from place to place:
- They occur frequently on a certain part of the line for a while:
- Then they shift to another part for a while:
- (A) They may be entirely chronic;
- (B) Or a sporadic minor stop may happen in conjunction with a chronic one.
Characteristics of Minor Stops (4)
(4) They are difficult to quantify:
-
It is difficult to measure how many minor stops are happening at which points on the line, and how long it takes to rectify them.

The 7 Steps to Zero Minor Stops
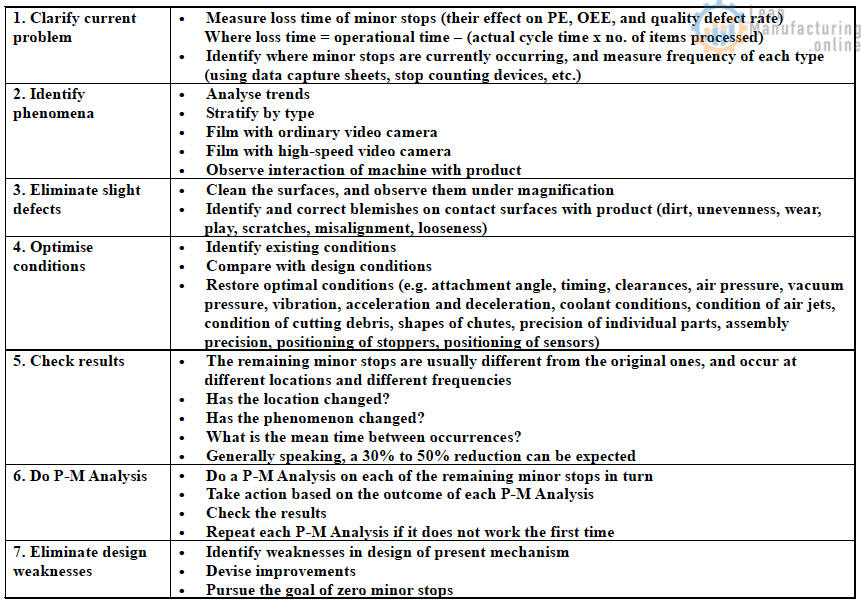
Step 1 Clarify current problem
- Measure loss time of minor stops (their effect on PE, OEE, and quality defect rate). Where loss time = operational time – (actual cycle time x no. of items processed)
- Identify where minor stops are currently occurring, and measure frequency of each type (using data capture sheets, stop counting devices, etc.)
– When actually measured, the loss is usually found to be surprisingly large
– The problem is often left untreated because the size of the losses is not recognised
Step 2 Identify phenomena
- Analyse trends
- Stratify by type
- Film with ordinary video camera
- Film with high-speed video camera
- Observe interaction of machine with product
– Precisely pinpointing the phenomenon is the key to solving the problem
– This can only be done by taking a video: (Use a high-speed camera if the motion is rapid)

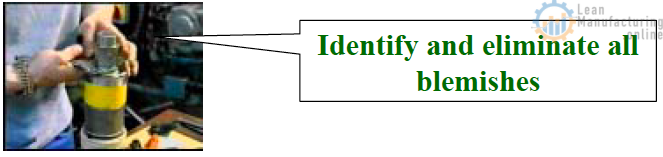
Step 3 Eliminate slight defects
1) Clean the surfaces, and observe them under magnification
2) Identify and correct blemishes on contact surfaces with product (dirt, unevenness, wear, play, scratches, misalignment, looseness, etc.)
- Slight defects will not be recognised if the equipment is viewed in the same way as it always has been. It must be examined with the intention of detecting every single imperfection;
- Problems are often due to the interaction of a number of minor defects, each of which would not cause the problem on its own. This is why it is essential to identify and eliminate all blemishes on surfaces that come into contact with the materials being processed.
Step 4 Optimize conditions
1) Identify existing conditions
2) Compare with design conditions
3) Restore optimal conditions (e.g. attachment angle, timing, clearances, air pressure, vacuum pressure, vibration, acceleration and deceleration, coolant conditions, condition of air jets, condition of cutting debris, shapes of chutes, precision of individual parts, assembly precision, positioning of stoppers, positioning of sensors)
Begin by cleaning, checking and restoring the equipment to its original state, otherwise it will be impossible to know whether or not there are any deviations from the original design conditions.

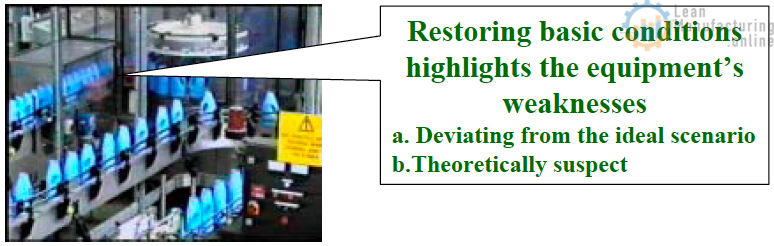
Step 5 Check results
The remaining minor stops are usually different from the original ones, and occur at different locations and different frequencies:
- Has the location changed?
- Has the phenomenon changed?
- What is the mean time between occurrences?
- Generally speaking, a 30% to 50% reduction can be expected
When the original conditions are restored and the results are checked, the equipment’s weaknesses become obvious.
Step 6 Do P-M Analysis
1) Do a P-M Analysis on each of the remaining minor stops in turn
2) Take action based on the outcome of each P-M Analysis
3) Check the results
4) Repeat each P-M Analysis if it does not work the first time
P-M Analysis should only be used after everything else that is wrong has been put right, basic conditions have been restored, and minor defects have been eliminated.
P-M Analysis should be used to solve the few problems that remain after all else has been tried. It can unearth deep-rooted causes, but only if the phenomenon is accurately identified. It will never reveal the true causes of a problem if the phenomenon has not been properly grasped in the first place.
Step 7 Eliminate design weaknesses
1) Identify weaknesses in design of present mechanism
2) Devise improvements
3) Pursue the goal of zero minor stops
Identify design weaknesses in:
- Mechanism (materials and configurations of components);
- Structure and configuration of jigs;
- Detection systems (sensors and instrumentation systems).


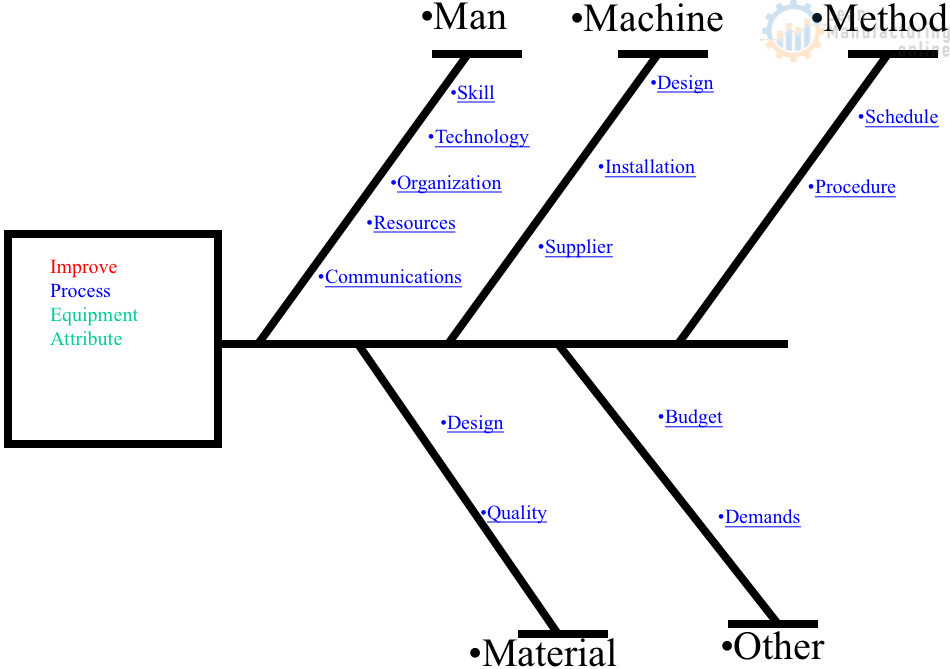
4M Analysis Process
The purpose of this procedure is to define the steps to do a 4M …