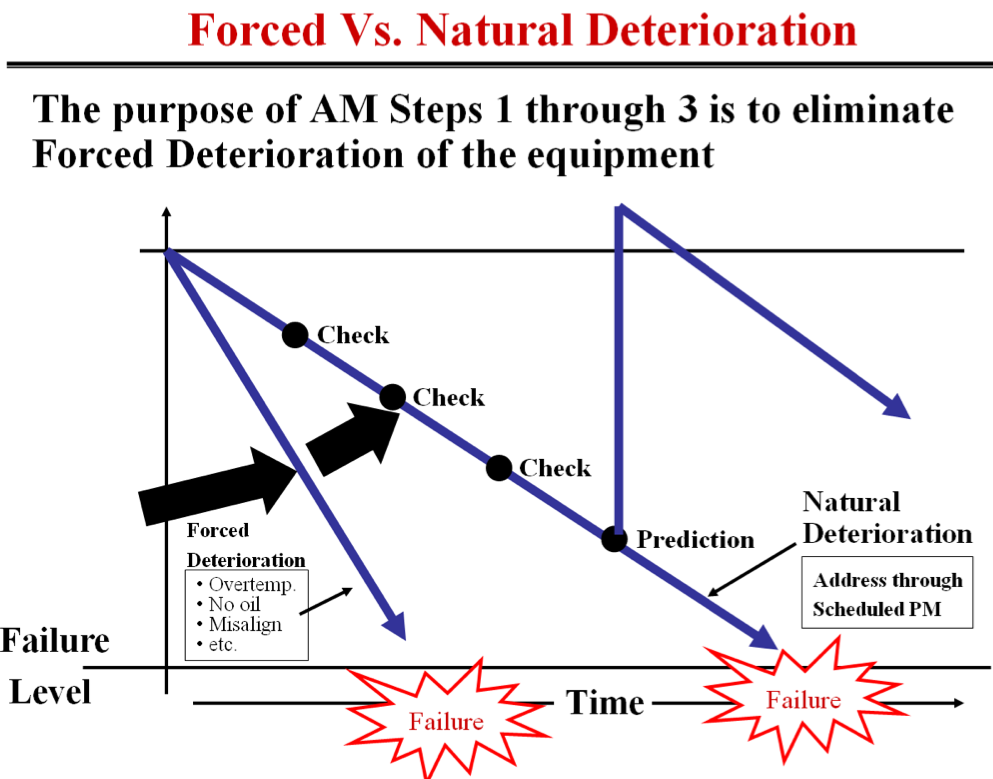
Forced vs natural deterioration is a core TPM and maintenance concept. It helps teams separate equipment aging that is expected from equipment damage that is accelerated by poor conditions, misuse, lack of cleaning, poor lubrication, contamination, overload, or weak inspection routines.
In manufacturing, most equipment is designed with a performance margin. The machine can deteriorate for some time before quality, speed, safety, or reliability is affected. The problem is that deterioration is often invisible until the warning time is already short.
The purpose of TPM is not only to repair breakdowns. It is to detect deterioration early, restore basic conditions, eliminate forced deterioration, and then manage natural deterioration with the right maintenance strategy.
What is forced deterioration?
Forced deterioration is equipment decline caused by controllable or abnormal conditions. It is not “normal aging.” It happens when the machine is forced to operate outside the conditions it was designed for.
Examples include loose bolts, missing covers, poor cleaning, wrong lubrication, contamination, overload, misalignment, abnormal vibration, leaks, damaged guards, blocked cooling, poor setup, incorrect operation, and unresolved minor defects.
Forced deterioration usually creates avoidable breakdowns. It should be treated as a loss that the system can prevent.
What is natural deterioration?
Natural deterioration is the expected decline of a component under correct operating conditions. Even when equipment is used correctly, parts still wear. Bearings, belts, seals, chains, sprockets, filters, cutters, brushes, and contact surfaces all have a useful life.
Natural deterioration is managed through inspection, condition monitoring, lubrication, replacement intervals, and planned maintenance. It becomes easier to predict after forced deterioration has been removed.
Quick comparison
| Question | Forced deterioration | Natural deterioration |
|---|---|---|
| Cause | Abnormal or controllable conditions. | Normal wear under correct conditions. |
| Typical examples | Loose bolts, dirt, leaks, misalignment, wrong settings, poor lubrication. | Bearing life, belt wear, seal wear, tool wear, filter loading. |
| Best owner | Operations, maintenance, engineering, and leadership together. | Planned maintenance and condition monitoring routines. |
| Best response | Restore basic conditions and remove abnormal causes. | Predict, monitor, replace, or overhaul at the right time. |
| TPM message | Eliminate first. | Manage after basic conditions are stable. |

Why the difference matters
If a team treats forced deterioration as natural deterioration, the wrong countermeasure is selected. The team may shorten PM intervals, stock more spare parts, or accept repeated breakdowns when the real issue is basic condition failure.
If a team treats natural deterioration as forced deterioration, it may waste time blaming operators or looking for root causes when the correct action is planned replacement, condition monitoring, or engineering review.
The first question after a breakdown should not be only “what failed?” It should also be “was this failure forced or natural?”
Common causes of forced deterioration
- Contamination: dust, powder, oil, water, product residue, or foreign material entering the machine.
- Poor lubrication: wrong lubricant, too much, too little, dirty lubricant, or missed lubrication points.
- Looseness: loose bolts, clamps, guards, sensors, couplings, or brackets.
- Misalignment: belts, chains, sprockets, shafts, guides, or transfer points not aligned correctly.
- Overload: machine operated above design load, speed, temperature, pressure, or duty cycle.
- Poor cleaning: dirt hides defects and creates heat, wear, or blockages.
- Uncorrected abnormalities: small defects ignored until they become failure.
Eliminate forced deterioration before optimizing PM
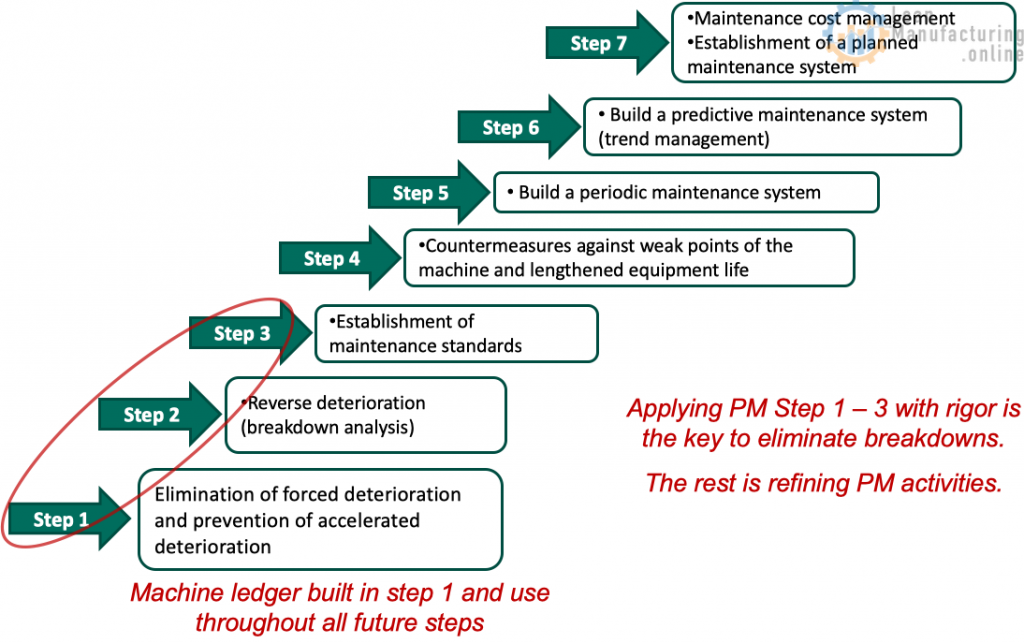
One of the biggest maintenance mistakes is adjusting the PM program before restoring basic conditions. If the machine is dirty, loose, leaking, misaligned, overloaded, or poorly lubricated, the PM interval is not the root issue.
The correct sequence is usually:
| Step | Purpose | Typical tools |
|---|---|---|
| 1. Restore basic conditions | Remove avoidable causes of accelerated wear. | Cleaning, tightening, lubrication, inspection, standards. |
| 2. Make abnormalities visible | Find small defects early. | F-tags, activity boards, visual controls, Gemba walks. |
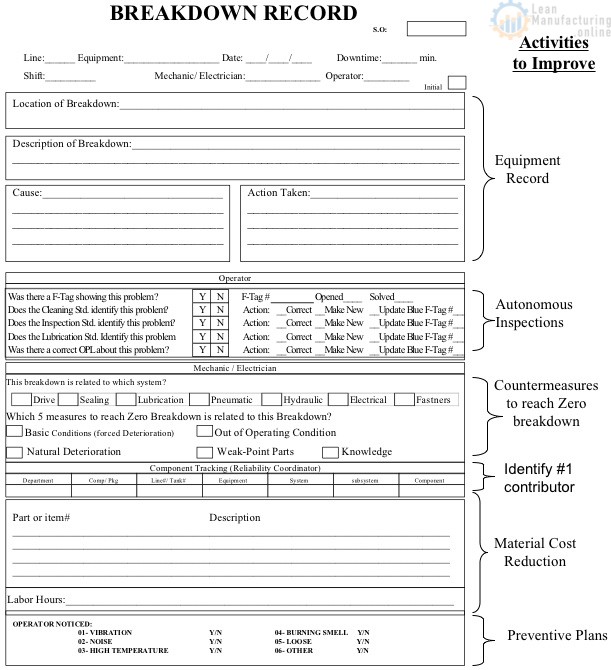
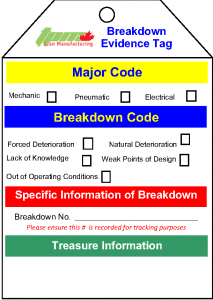
| 3. Classify failures | Separate forced from natural deterioration. | Breakdown record, evidence tag, 4M, Why-Why. |
| 4. Improve PM strategy | Manage remaining natural deterioration. | Time-based, condition-based, predictive, overhaul plan. |

Natural deterioration still needs management
Natural deterioration does not mean “do nothing.” It means the deterioration is expected when the machine is operated correctly. The maintenance question becomes: how do we detect it, how fast does it progress, and how much warning time do we have before failure?
The inspection or monitoring interval must be shorter than the warning time. If the warning time is three days and inspection happens monthly, the failure will occur before the team can react.
Forced deterioration is often visible first
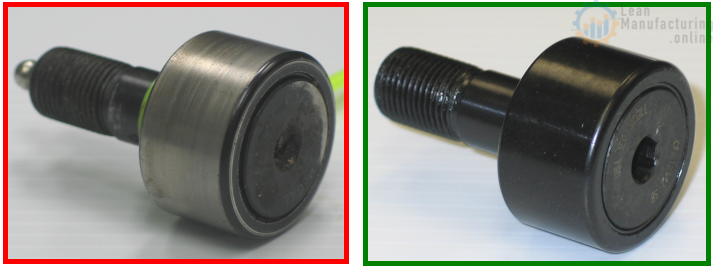
Forced deterioration usually leaves clues before failure: dirt, leaks, vibration, noise, heat, smell, looseness, missing parts, worn contact surfaces, blocked filters, damaged guards, or abnormal product marks. These clues should be easy for operators and maintenance teams to capture.

How Autonomous Maintenance helps
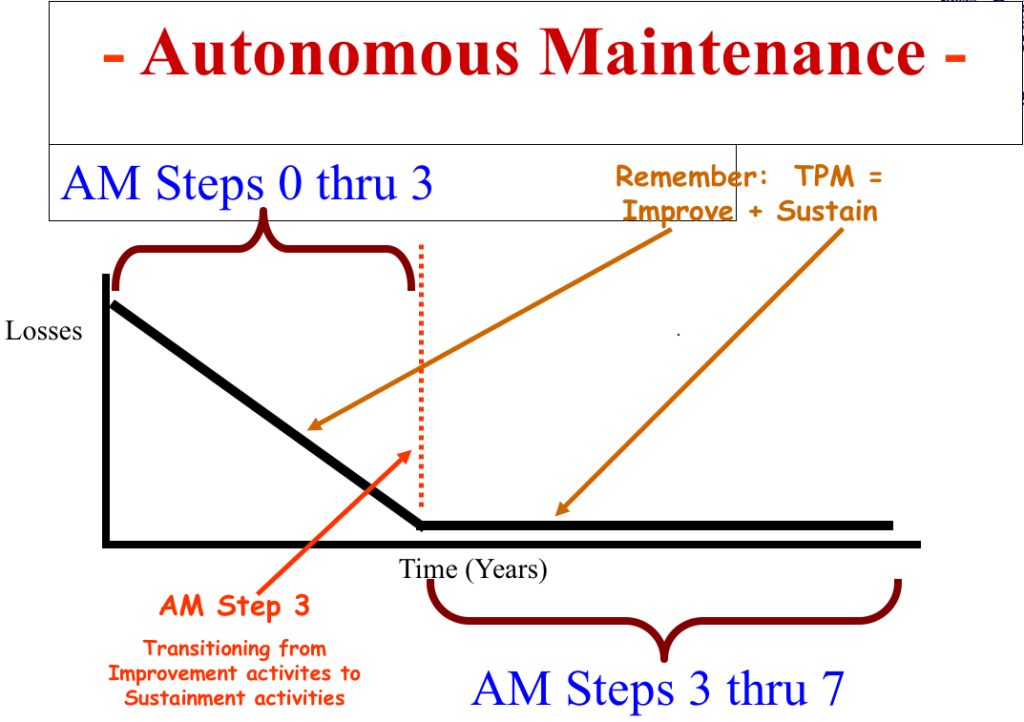
Autonomous Maintenance helps operators detect and prevent forced deterioration through cleaning, inspection, lubrication awareness, basic tightening, abnormality detection, and escalation. The goal is not to turn operators into maintenance technicians. The goal is to help the team see abnormal conditions earlier.
When operators clean with inspection in mind, they find small problems before those problems become downtime. That is why “cleaning is inspection” is such an important TPM principle.
CIL standards prevent repeated deterioration
Cleaning, inspection, and lubrication standards make basic conditions repeatable. Without a clear standard, each shift may clean differently, inspect different points, and miss the same early warnings.
A good CIL standard should show what to clean, what to inspect, what abnormal conditions look like, who owns the action, and when to escalate.
Using F-tags to capture abnormalities
F-tags help teams make abnormalities visible. They are useful when a small defect, source of contamination, hard-to-access area, or unsafe condition needs ownership and follow-up. For hazard-related issues, use the correct safety escalation process and see Safety F-tags.
F-tags should not become decoration. Every tag needs an owner, priority, due date, closure standard, and review routine.
Gemba questions for deterioration
During a Gemba Walk, leaders can use simple questions to find deterioration risk:
- What changed since the last inspection?
- Where do we see leaks, dirt, heat, noise, vibration, or looseness?
- Which abnormalities are repeated?
- Which tags are overdue?
- Which breakdowns were forced deterioration?
- Which basic conditions are not being sustained?
- Which PM tasks are not preventing failure?

Common mistakes
- Calling every failure natural: this hides poor basic conditions.
- Blaming PM frequency too early: the real issue may be contamination, looseness, or misuse.
- Ignoring small defects: minor abnormalities become major failures.
- No evidence capture: the team repairs the part but loses the cause information.
- No visual management: deterioration is found but not tracked to closure.
- No problem solving: the same forced deterioration repeats.
Forced vs natural deterioration checklist
- Was the equipment operated within correct conditions?
- Were cleaning, inspection, and lubrication standards followed?
- Was there contamination, looseness, misalignment, overload, or abnormal use?
- Was the defect visible before failure?
- Was the warning time shorter than the inspection interval?
- Was the part at expected end of life?
- Were previous F-tags or abnormalities still open?
- Does the PM plan match the actual failure mode?
- Does the team need 4M Analysis or Why-Why Analysis?
- Should the result be reviewed on an activity board or KPI review?
How this connects to TPM and KPIs
In TPM, forced deterioration is a signal that the daily management system is not protecting equipment conditions. Planned Maintenance should manage the remaining predictable deterioration after the basic conditions are stable.
Useful manufacturing KPIs include breakdown frequency, forced deterioration breakdowns, open F-tags, overdue abnormalities, PM compliance, repeat failures, mean time between failures, and OEE losses linked to equipment condition.
Do not normalize forced deterioration
The practical message is simple: do not accept forced deterioration as normal. Restore basic conditions, make abnormalities visible, use F-tags and Gemba routines, classify breakdowns correctly, and then use planned maintenance to manage true natural deterioration. That is how TPM moves the organization from reactive repair to stable equipment reliability.

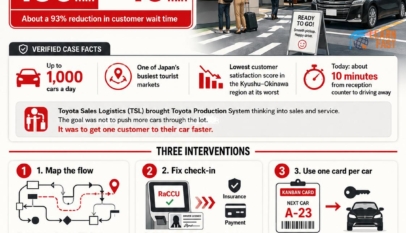
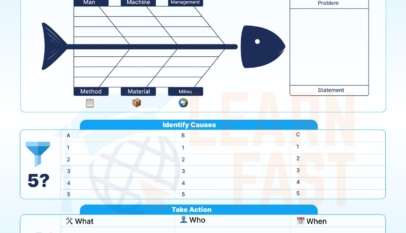



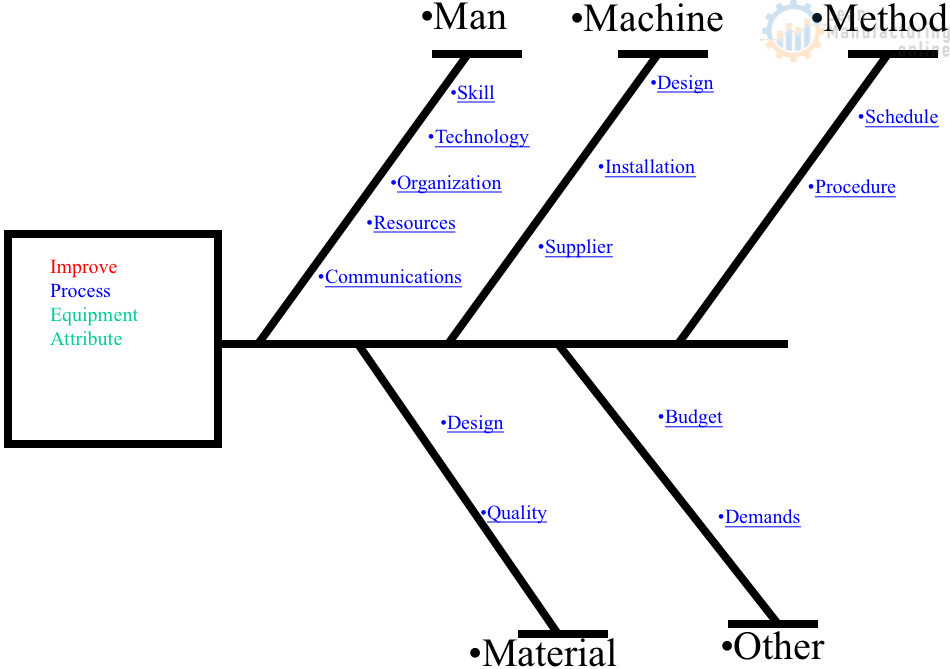
4M Analysis Process: Root Cause Guide for Manufacturing
Learn how to use 4M Analysis to find manufacturing root causes across People, Machine, Method, and Material with diagrams, examples, and checklist.