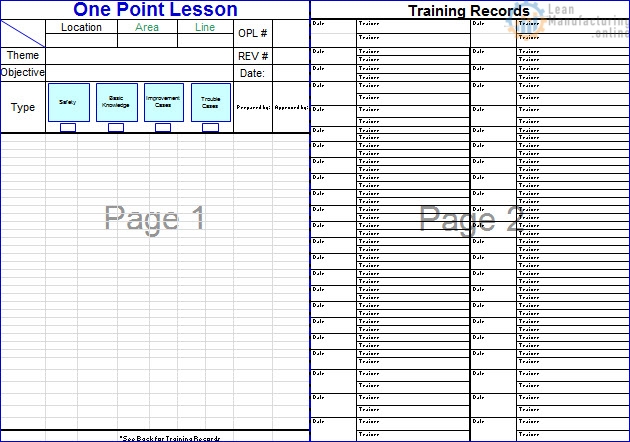
Safety One Point Lessons are short visual training aids used to communicate one safety point at a time. They are useful for hazards, PPE, lockout/tagout reminders, equipment-specific risks, emergency response awareness, and safe reaction rules.
Important: a safety OPL is not a replacement for your site Health & Safety program, manufacturer instructions, legal requirements, or formal training. Safety OPLs should be reviewed and approved by the appropriate H&S, maintenance, engineering, or process owner before use.
For the full OPL method, start with What Are One Point Lessons?. For general examples and templates, see One Point Lesson Examples and Templates.
What makes a good safety OPL?
A good safety OPL focuses on one risk, one standard, or one reaction rule. It should be easy to understand quickly, heavily visual, and specific to the actual equipment, tool, workstation, or task.
| Safety OPL type | Purpose | Example topic |
|---|---|---|
| Emergency awareness | Make one emergency point visible. | Where to find an emergency lowering control or stop point. |
| LOTO / energy control | Reinforce one lockout/tagout rule or decision point. | When a lock box is required for multiple workers. |
| PPE | Show the correct protective equipment and use condition. | Safety footwear, gloves, face protection, arc-flash PPE. |
| Hazard identification | Help the team recognize and report one unsafe condition. | Damaged tool, missing guard, leak, exposed wire, or trip hazard. |
| Visual reaction rule | Show what to do when an abnormal condition is found. | Stop, tag, isolate, report, escalate, or wait for qualified support. |
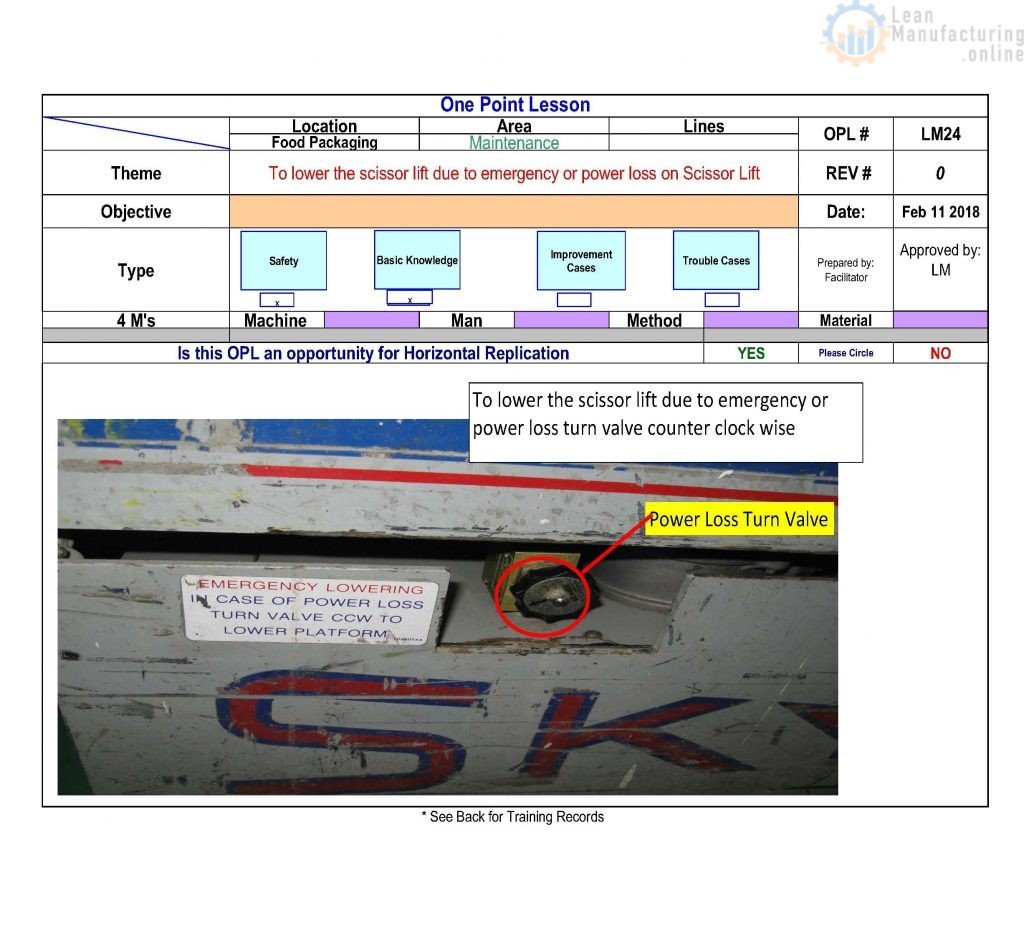
Example 1: MEWP or scissor lift emergency awareness OPL
This example shows how a safety OPL can make one emergency response point visible. The purpose is not to replace operator training or the manufacturer manual. The purpose is to help trained people recognize the correct control or reference point during a stressful situation.
Any MEWP, scissor lift, forklift, crane, or powered equipment safety OPL should be checked against the exact equipment model, the OEM manual, and site-approved emergency procedures.
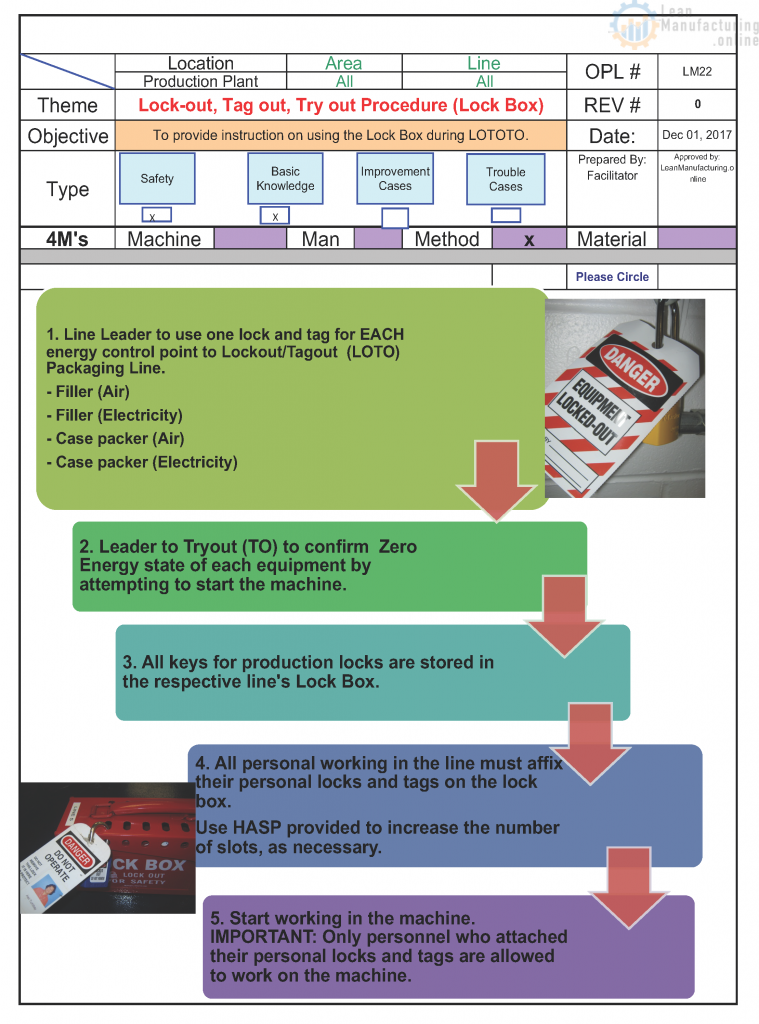
Example 2: Lock box safety OPL
When multiple people work on equipment, a lock box OPL can clarify one part of the lockout/tagout process. The OPL should not attempt to replace the complete LOTO procedure. It should show one specific rule, such as where locks are placed, who controls the key, or when the lock box process must be used.
Related topic: Lockout Tagout LOTO.
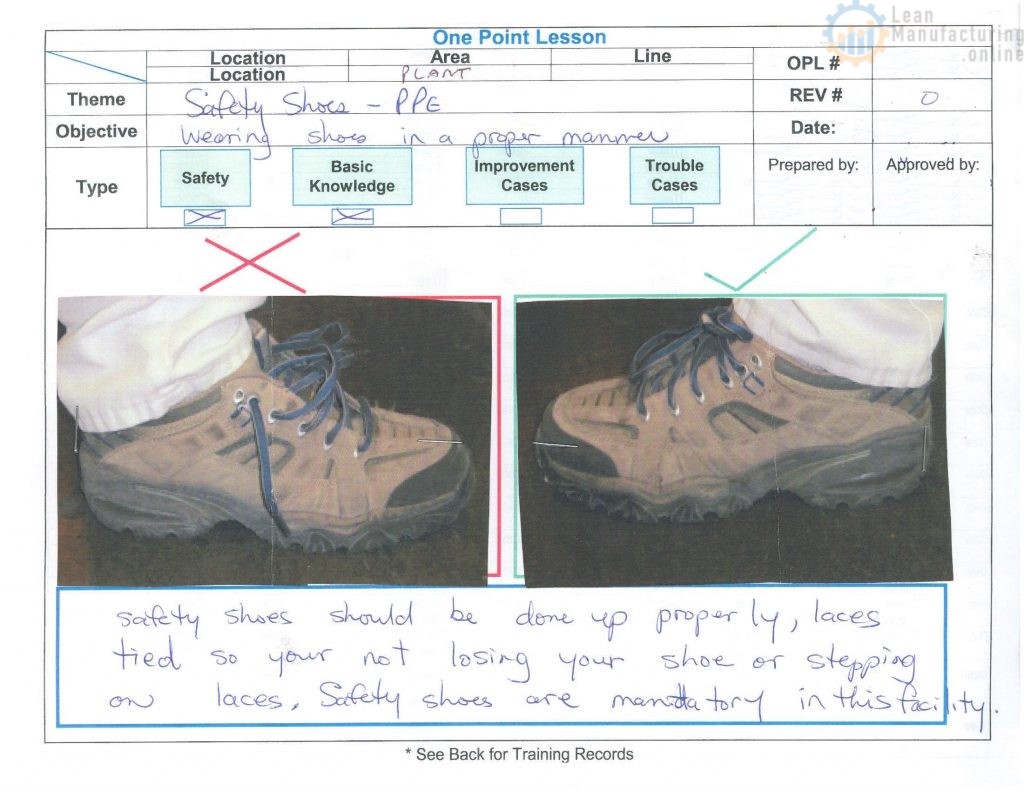
Example 3: PPE safety OPL
PPE OPLs work well when the requirement is simple but often missed. The visual should show the required PPE, where it applies, and the consequence or risk that the PPE controls. A PPE OPL should also explain when the worker must stop and ask for clarification.
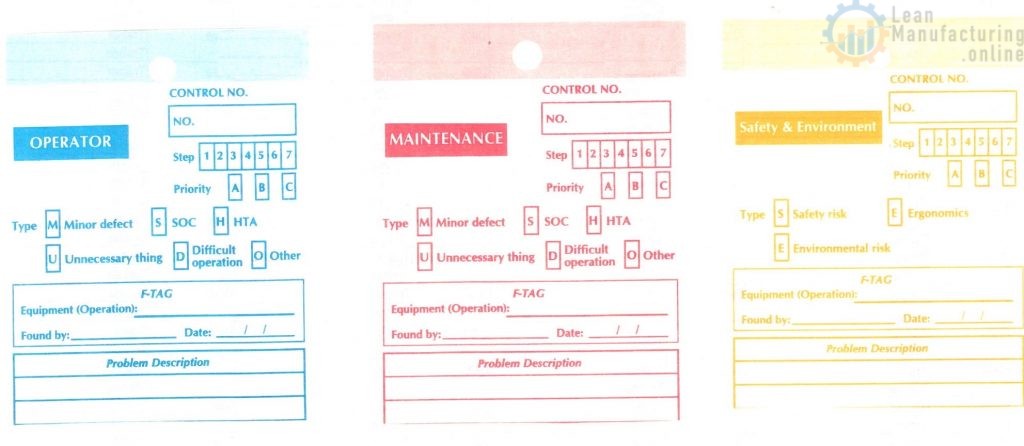
Example 4: F-tag or hazard reporting OPL
Safety issues should be easy to report and track. An F-tag or hazard tag OPL can show when to tag equipment, what information to record, who owns the follow-up, and how urgent safety items are escalated.
Related topics: Safety F-Tags and What Are F-Tags?.
Example 5: Lockout/tagout visual reminder
A LOTO visual can support training by reinforcing one safe behavior, such as using approved locks and tags. It should not replace the actual energy-control procedure, isolation verification, or authorization rules.

Example 6: LOTO decision chart
A decision chart can help the team recognize when a task requires a formal procedure, supervisor review, or qualified support. This is especially useful for non-routine work, maintenance tasks, troubleshooting, and cleaning activities where the risk may not be obvious.

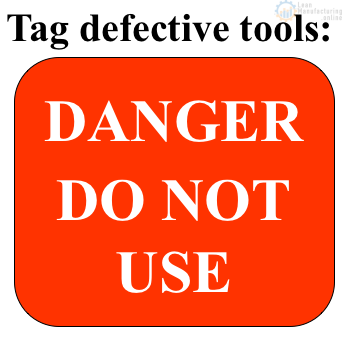
Example 7: Defective tool reaction rule
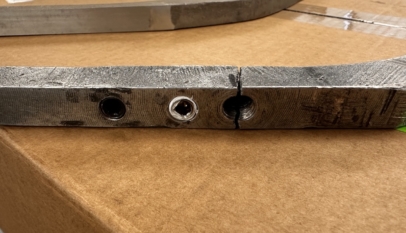
Some of the best safety OPLs are very simple. If a tool is damaged, the team needs one clear reaction rule: do not use it, tag it, remove it from service, and follow the local reporting process.
How to create a safety OPL
- Pick one safety point. Do not combine several hazards into one lesson.
- Use the real workplace. Use photos from the actual machine, tool, panel, or area when possible.
- Show normal and abnormal. Make the safe condition and unsafe condition easy to recognize.
- State the reaction rule. Explain when to stop, tag, report, isolate, or escalate.
- Get qualified review. Safety OPLs should be reviewed by the correct technical or H&S owner.
- Train at the point of work. Use the OPL during shift meetings, start-up checks, Gemba walks, or daily management.
- Keep it current. Update or remove OPLs when equipment, procedures, risks, or regulations change.
Safety OPL review checklist
- Does the OPL teach one safety point only?
- Is the visual clear enough to understand quickly?
- Does it avoid unsupported or unofficial instructions?
- Does it match the equipment, tool, area, and task?
- Was it checked against the site procedure and manufacturer instructions where required?
- Was it reviewed by the right H&S, maintenance, engineering, or process owner?
- Does it tell the team when to stop and escalate?
- Is there a training record or sign-off if required by the site?
Where safety OPLs fit in Lean and TPM
Safety One Point Lessons support Autonomous Maintenance, Planned Maintenance, Gemba Walks, daily management, standard work, and incident prevention. They help teams turn small safety lessons into visible standards.
Use safety OPLs as reminders, not procedures
A safety OPL should make one safety lesson easier to see, teach, and remember. Keep it visual, keep it focused, and always make sure it supports the official site procedure rather than replacing it.







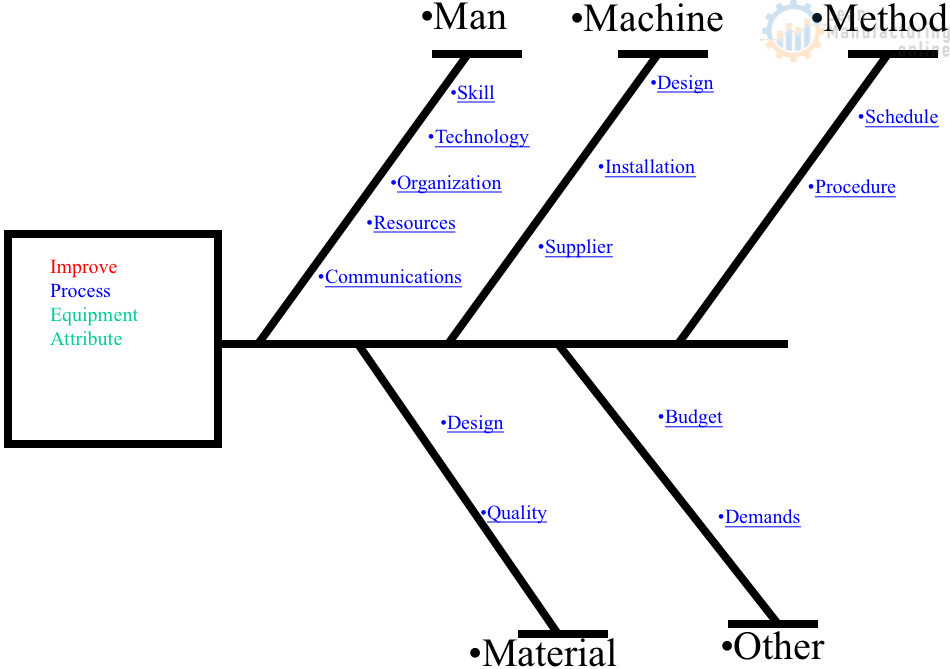
4M Analysis Process: Root Cause Guide for Manufacturing
Learn how to use 4M Analysis to find manufacturing root causes across People, Machine, Method, and Material with diagrams, examples, and checklist.